...
Connecting to App
Download the "SensoNODESCOUT Mobile" App from Apple Store
Search for "SensoNODE" or "Scout Mobile"
 SCOUT Mobile by Parker"
Note: Android App is not available for the time being but is expected for release in Jan 2016
Set up your kit and turn on the battery
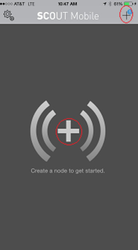
- Fire up the App
- Connect the BLE transmitter to the SensoNODE app using the (
 ) sign in the middle of screen or the + sign at the top-right corner
- Hit "+" to add sensor
- Select the sensor you like to monitor
- Sensor identification is BLE radio serial number (See back of BLE Radio)
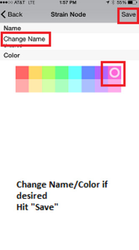
- Change the name or color ID of the sensor if desired
- Hit "Save"

App Features
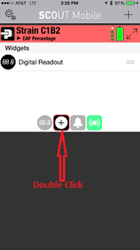
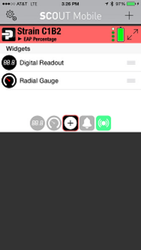
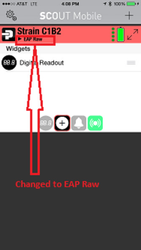
- Adding a widget
- Double Click on the Widget folder ( Square with + in the middle)
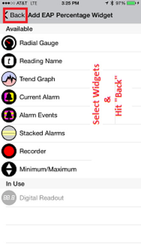
- Select the desired widgets
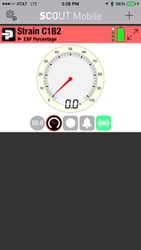
- Hit "Back" at the top-left corner. Now you see the list of selected Widgets
- Hit desired widgets to monitor sensor out put
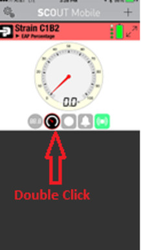
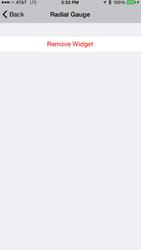
- Removing a Widget
- To remove a widget, double click on the widget icon
- Hit "Remove"
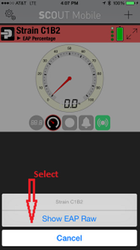
- Changing the read out from EAP Percentage to EAP Raw
- To change EAP sensor read out from Percentage to Raw hit "EAP Percentage"
- From the pop-up menu select "Show EAP Raw"
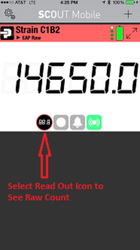
- To see EAP Raw count select the read out icon

- Selected Widgets do not roll over from Percentage Mode to Raw Mode
- Desired widgets needs to be selected independently for each percentage and raw modes
- In raw mode, user get to see the count numbers.
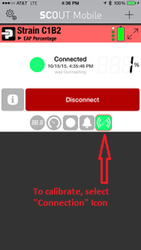
- Calibration
- You may notice that connected sensors might be off by up to 5% before calibration
- This is because the app has a default "Count Number" setting that needs to be changed for each sensor to improve accuracy
- For how to access "Count Numbers" see previous section
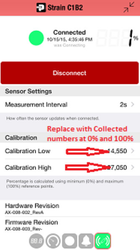
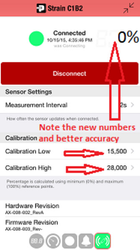
- To calibrate, collect the Count numbers at 0% and 100% strain. Record/note the Counts numbers when the sensor is relaxed for 0% and stretch the sensor 50 mm and record the count number for 100%. These two numbers are min and max that needs to be replaced with App's default setting.
- For calibration highlight the "Connection" Icon with green color
- Hit the pro icon with letter i
- Replace the calibration low and calibration high numbers with the numbers collected at 0% and 100% for the specific sensor you are calibrating.
...